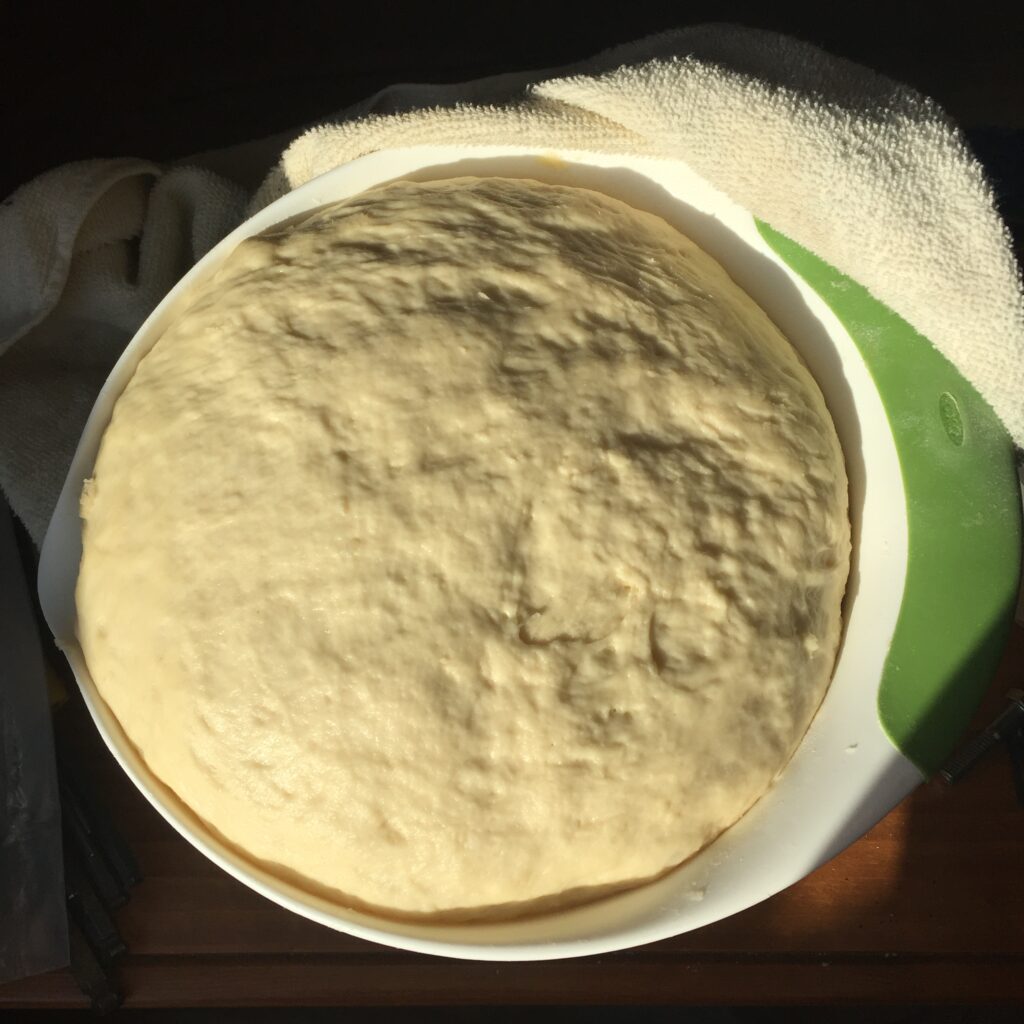
Photo of dough rising in warm location before being punched down and made into Grandma’s Rolls. Photo taken by author.
Grandma’s Rolls are a delicacy when it comes to Thanksgiving dinner. People gorge themselves on the little, buttery pouches throughout the feast and late into the night. Then, if lucky, the rolls live onto the next day serving as a tasty leftover breakfast. Grandma’s Rolls are a family recipe originating from a grandmother who’s not my own. Marylin Kendrick is the late grandmother to my cousins, and the creator of the Grandma’s Rolls recipe. That is, a recipe in essence. This is not a traditional detailed list of steps and instructions, but rather a recipe that lies in the memory and muscles of those who have learned it.
Playing sous chef to my older cousin, Sophie, I grew up making Grandma’s Rolls every November. Helping out in the kitchen during my elementary-school years meant melting butter, stirring, and scooping out measurements under a watchful eye. My sister, three and half years older, was able to retain more information and was a bigger help on such cooking assignments. This proved useful years later when my family and my cousin’s family spent Thanksgiving apart. We were no longer the sous chefs, but now the head cooks in charge of recreating some of the delicious dishes we had come to count on for Thanksgiving dinner—this included Grandma’s Rolls. My parents, removed from the roll-making process, left my sister and I with the recipe and the job:
Grandma’s Rolls
1 cup mashed potatoes
1.5 c potato water
⅓ c shortening
1 yeast
5 tsp salt
3 T sugar
3 eggs
2 cups flour
That was it. No detailed step-by-step instructions, no secret asterisk with hidden notes or tips, just quantities and ingredients (some of which we later discovered weren’t even correct). Despite this surprise, my sister and I were determined to make the rolls. We called up our aunt seeking some insight and immediately were redirected to my cousin who gave us a quick debrief. She wished us luck and hung up the phone. We were then left to conjure up fractured memories to fill in the rest:
The first steps are safer to guess on. It primarily entails prep and some basic mixing: boil potatoes, mash potatoes, then mix the mash with starchy water, shortening, yeast, salt, sugar, eggs, and 2 cups of flour. Wait, 2 cups of flour? This last part requires a bit more know-how. With just two cups of flour you will likely find yourself with a wet, gloppy slop nowhere near the fluffy dough consistency you’re looking for. “2 cups of flour” really elicits adding 2 cups, then another, then another, and another, until you have used around half a bag of flour. “2 cups of flour” means you keep adding more until the dough can’t physically take another cup.
After the kitchen counters and floor are dusted in a layer of flour and your dough is plump and kneaded, it’s time to rest. The dough (sitting in a mixing bowl and covered with a damp cloth) should be placed in a warm area–this might be near the preheated ovens that are prepped for Thanksgiving operations or it may be up in the attic. Leave it. And go clean up your messy kitchen.
Returning to check on your swaddled dough baby, you will hopefully find the dough bursting from beneath its little blanket having risen two or three times in size. Now it’s time to punch it down. Sorry, dough baby. Give it a few good whacks deflating it a bit, and then let it rise once again.
Once you’ve risen, punched, risen it’s time to roll into the next step–trim, butter, wrap, and smush. This is best done in tag-team style. Person #1 should grab a rolling pin and some kitchen scissors to craft the dough into isosceles-esk triangles. Person #2 will start lathering up the triangular doughs, dipping both sides into the melted butter. Then, moving from the flat end toward the tip, roll up the glistening-glut of buttery dough and plop it in your pre-buttered pyrex dish. Repeat. Repeat. Repeat, until all the dough is done. Note on the plopping: this plop will turn to a smush as more doughs roll in, but you will want to squeeze as many as you can into the pan.
Final touches: pour some extra melted butter over top just for good measure and slide your beautiful butterd-up globs into the oven. Watch ‘em rise, do some more cleaning, or wash all that butter off your oily hands, it’s now simply time to wait. Some minutes later the rolls are done! They’re golden and soft and warm and gorgeous. It is finally Thanksgiving.
My sister and I have now made Grandma’s Rolls for several years and no longer limit our consumption to just go alongside turkey and cranberry sauce. They are often requested for Hanukkah and Christmas as well. Grandma’s Rolls still don’t have a precisely writen-up recipe, so each batch usually starts with some scratching of the head, and maybe a few curse-words for not having written it down the time before. But despite these momentary uncertainties, the rolls consistently disappear within days of their baking and reassure us about our expertise.
These days, with my sister and I having both moved out of the house, the task of Grandma’s Rolls has moved on to a different generation–our parents. They are the ones now thinking up snippets of memories and contemplating steps and procedures. While family recipes typically follow a linear descent from one generation to the next, Grandma’s Rolls follow a different lineage. The “kids” are the ones who hold the memories of the process passed down from our elders. We are the ones who are called up to fill-in the missing information; we are the ones who put the “grandma” in Grandma’s Rolls.
Brooke Levan is a second year student at Oberlin College studying as an Environmental Studies Major with a Food Studies Concentration and Studio Art minor. She enjoys all things food related–cooking for her student-run dining cooperative, growing foods in her backyard in San Diego, and finding fun eateries when she travels.
